Neighborhoods that were built before air conditioning came in tend to have front and back porches. Even today, they’re good places to be when the weather’s nice, and good places for waving at the neighbors.
In Pittsburgh, a lot of these porches are built on top of a “cold room”, which was perhaps used as a winter-time refrigerator in the 1930s, before refrigerators became common. Cold rooms are uninsulated [that’s how they get cold in the winter], and so they’re more of an annoyance in the modern world. We’d like the heat in our basement to flow to our heat pump water heater, rather than flowing out into the cold room and then into the outside world.
Up to 2020, our basement was a warm place. We had an old gas-fired hot water heating system that had uninsulated pipes snaking across the ceiling, and it uselessly dumped a lot of heat into the basement. But, now we’ve switched over to heat pumps for the house, and we’re only heating the living areas, so the basement gets a bit cool. Most of last winter, it hovered around 55°F (13C) but it got as cold as 48°F one day. It was cold enough that you’d want a sweater when folding laundry. So, it was time to think of some insulation.
The cold room is the obvious place to insulate [Duh! Because it’s cold.] because its roof — our porch floor — is just a fairly thin slab of concrete. [The “R-value” of a material measures how much resistance it has to stop heat flow. Small values mean low resistance, which means the heat flows out very rapidly.] Concrete is absolutely not a good insulator: its R-value is 0.08 per inch (“poured concrete”, here), so if we have a 4″ thick slab, the roof has a R-value of 0.32. Compare this to even 1″ of fiberglass (R is 3.14) and you’ll see that the 4″ concrete ceiling has a much smaller R-value so it leaks 10× more heat per unit area.
That means our little 200-square-foot porch was a a huge heat leak: about half the heat in the basement leaked out of the cold room ceiling, and the other half leaked out through the concrete-block walls. But it also means that it should be easy to make a big improvement.
We first thought about insulating under the slab, but we were worried about dampness because the porch floor occasionally gets wet from blowing rain or snow. [And, ironically, fire safety. Not that our basement doesn’t have a lot of flammable junk in it, but adding uncovered plastic foam to the ceiling didn’t seem a good idea. And I couldn’t protect the foam with plasterboard because it might get damp…] Next, we thought about putting some rigid polyurethane or polystyrene foam on the porch floor and building a deck over it. That’s doable — you can get polystyrene foam that’s strong enough to walk on, designed for underground & under-floor applications — but the resulting structure would raise the porch floor too much. So, we settled on rubber playground matting.
While rubber playground matting is not the world’s best insulator, various sources put the R-value for recycled rubber mats between 1 and 2 for an inch-thick mat. And, we found some 0.75″ thick playground matting at a decent price with a nice-looking surface, so we made our choice. The rubber should have an R-value of 1, roughly. And when we lay the matting on top of the R=0.32 concrete, the heat leakage through the cold room ceiling should become 4 times smaller.
The matting comes in 20″×20″ squares that weigh about 12 pounds each, and cost about $16 each from Rubbercycle LLC. So, we ordered them and ended up with a 500-pound pallet in our driveway. The cardboard box contains glue (which we didn’t need) and pegs that connect the tiles.
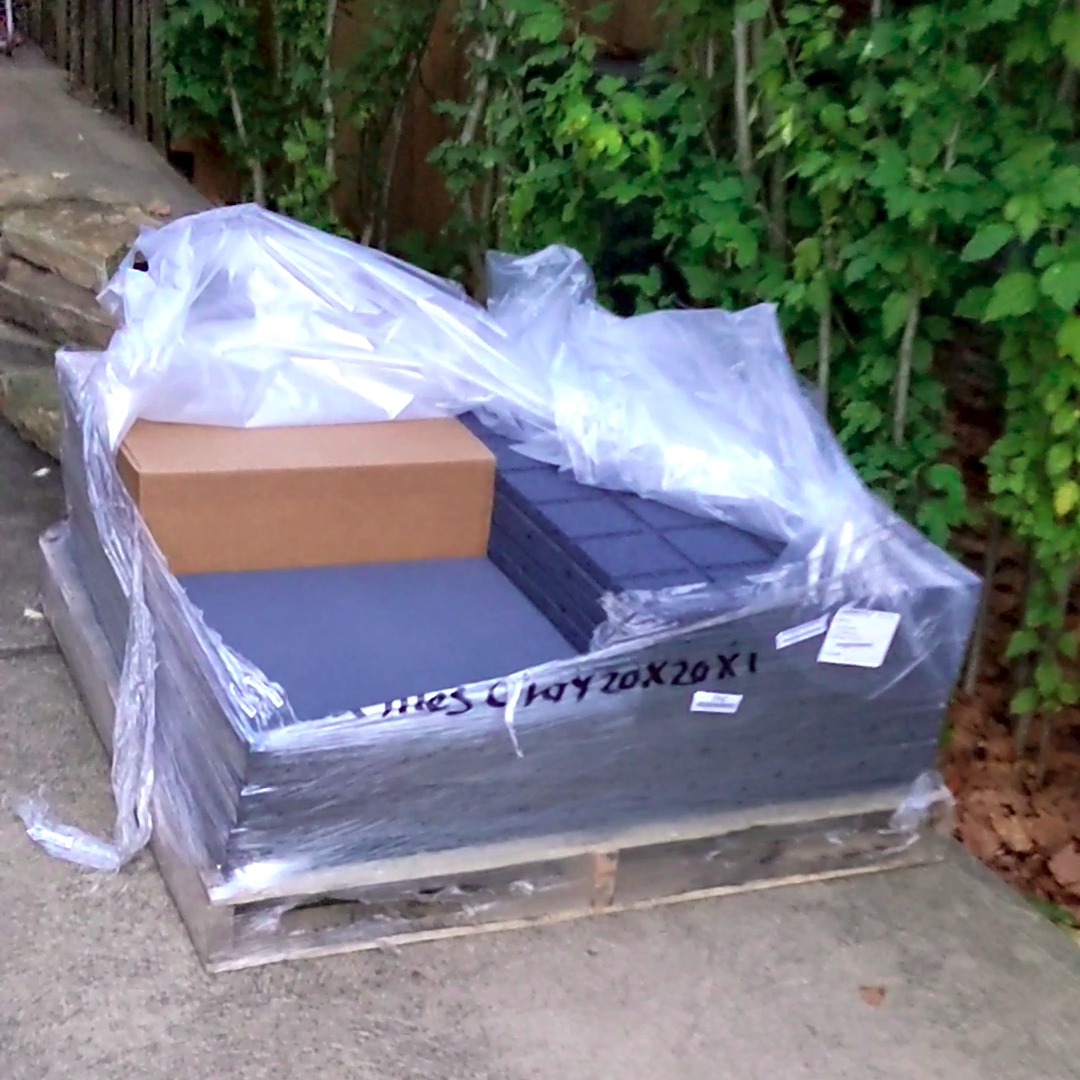
When you order, you’ll probably need to pay for “liftgate service”, which is the flip-out elevator on the back of a truck. Otherwise, I suppose they might deliver from a truck that’s designed only for unloading at a loading dock. [And then, the only thing they could do would be to push your pallet out the back: smash! It’s not as if the rubber would break, though…] And, you might need to give a few bucks to the delivery people to move it up your driveway, away from the street.
Then, you vacuum the front porch and start putting it together.
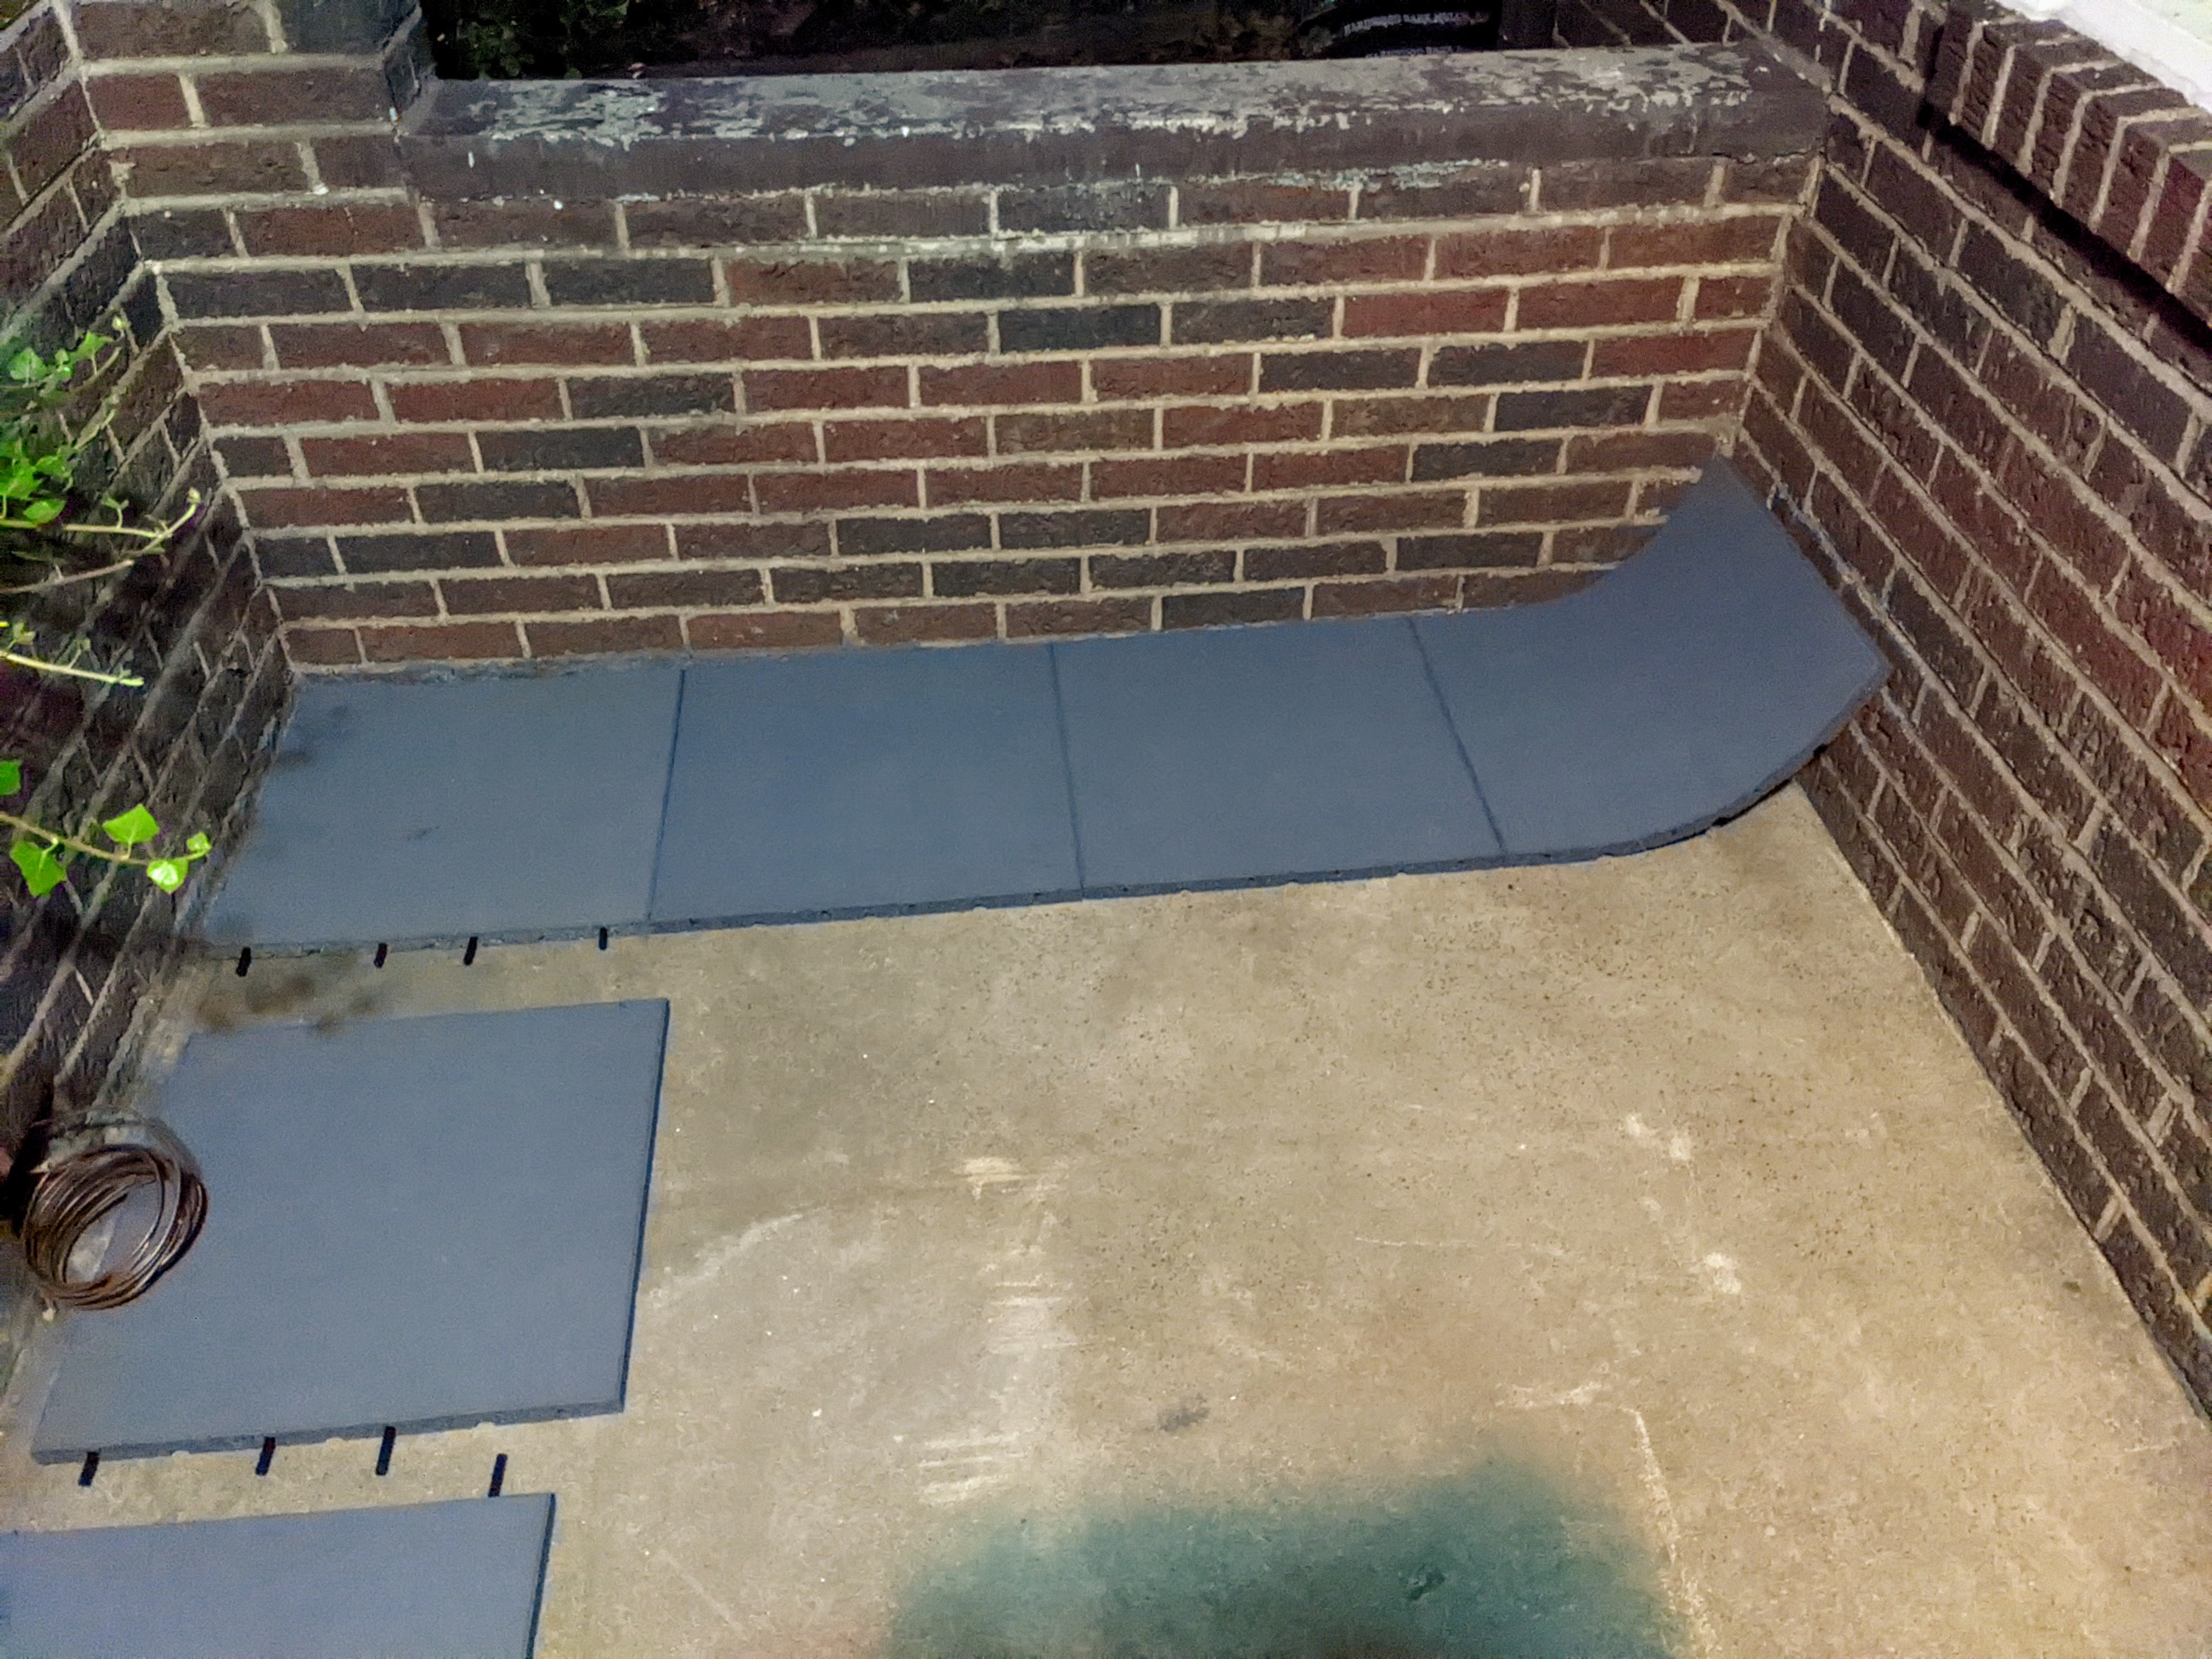
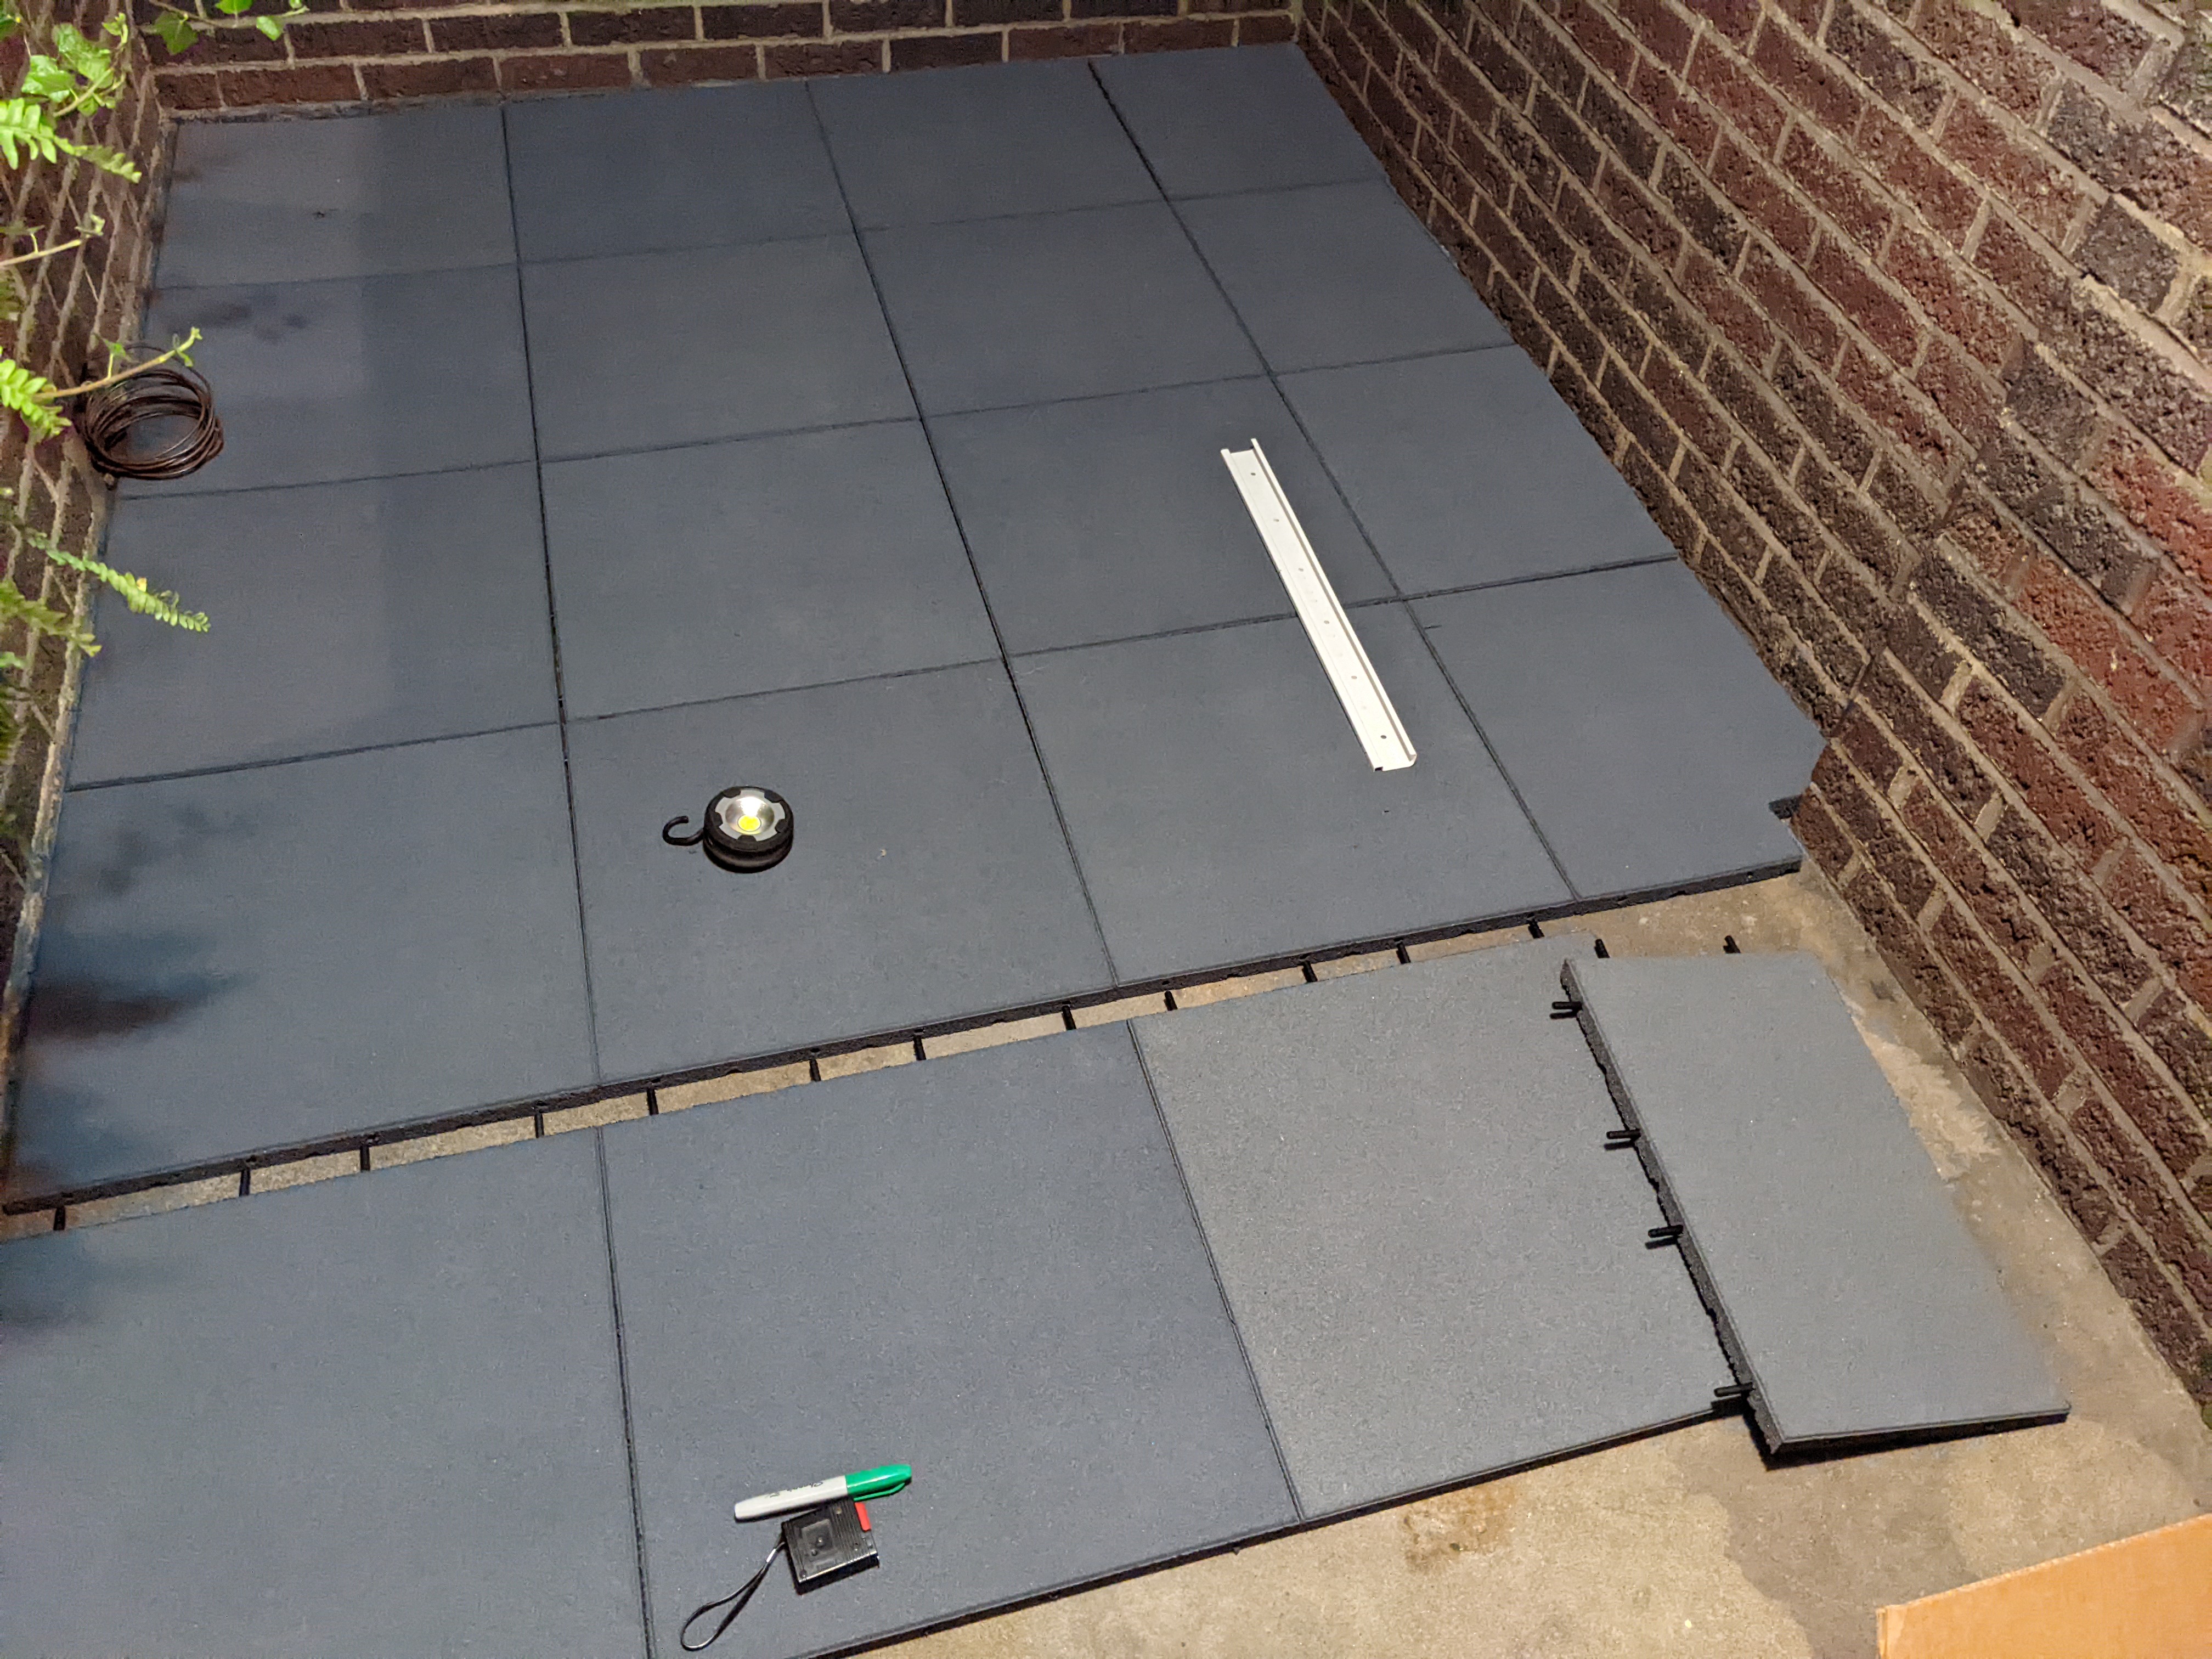
Start connecting the tiles and laying them on the floor. You want to leave a little room for thermal expansion at each edge. (The rubber will expand on a hot day, and you don’t want it pushing up against the walls and buckling.) If you’re installing on a really hot day, maybe you don’t need to leave any room around the edges, but the stuff expands by about 0.3% over a 30C temperature range, so generally, I’d leave about a centimeter (1/2″) of room for expansion.

The hard part is measuring and marking the rubber before you cut it. In case of doubt, cut out a paper template and check the fit before you cut your rubber. It’s all too easy to cut the rubber and then find out that you should have flipped the rubber over, and the cut doesn’t fit the wall. [I made that mistake in my project, but I bought two extra tiles; you may want to buy one or two extras too.]
Cutting the rubber is straightforward. It’s possible (though difficult) to cut it with a sharp box cutter or chisel. I used a jigsaw with a 7 tooth/inch carbide blade. That worked pretty well, though it was a little bit hard starting and ending each cut, because the rubber would bounce with the blade.
Chimney corners are a little bit fiddly to measure well. The basic installation strategy is to assemble and cut a row, insert all the pegs, and then push the row up against the tiles that you’ve already laid.
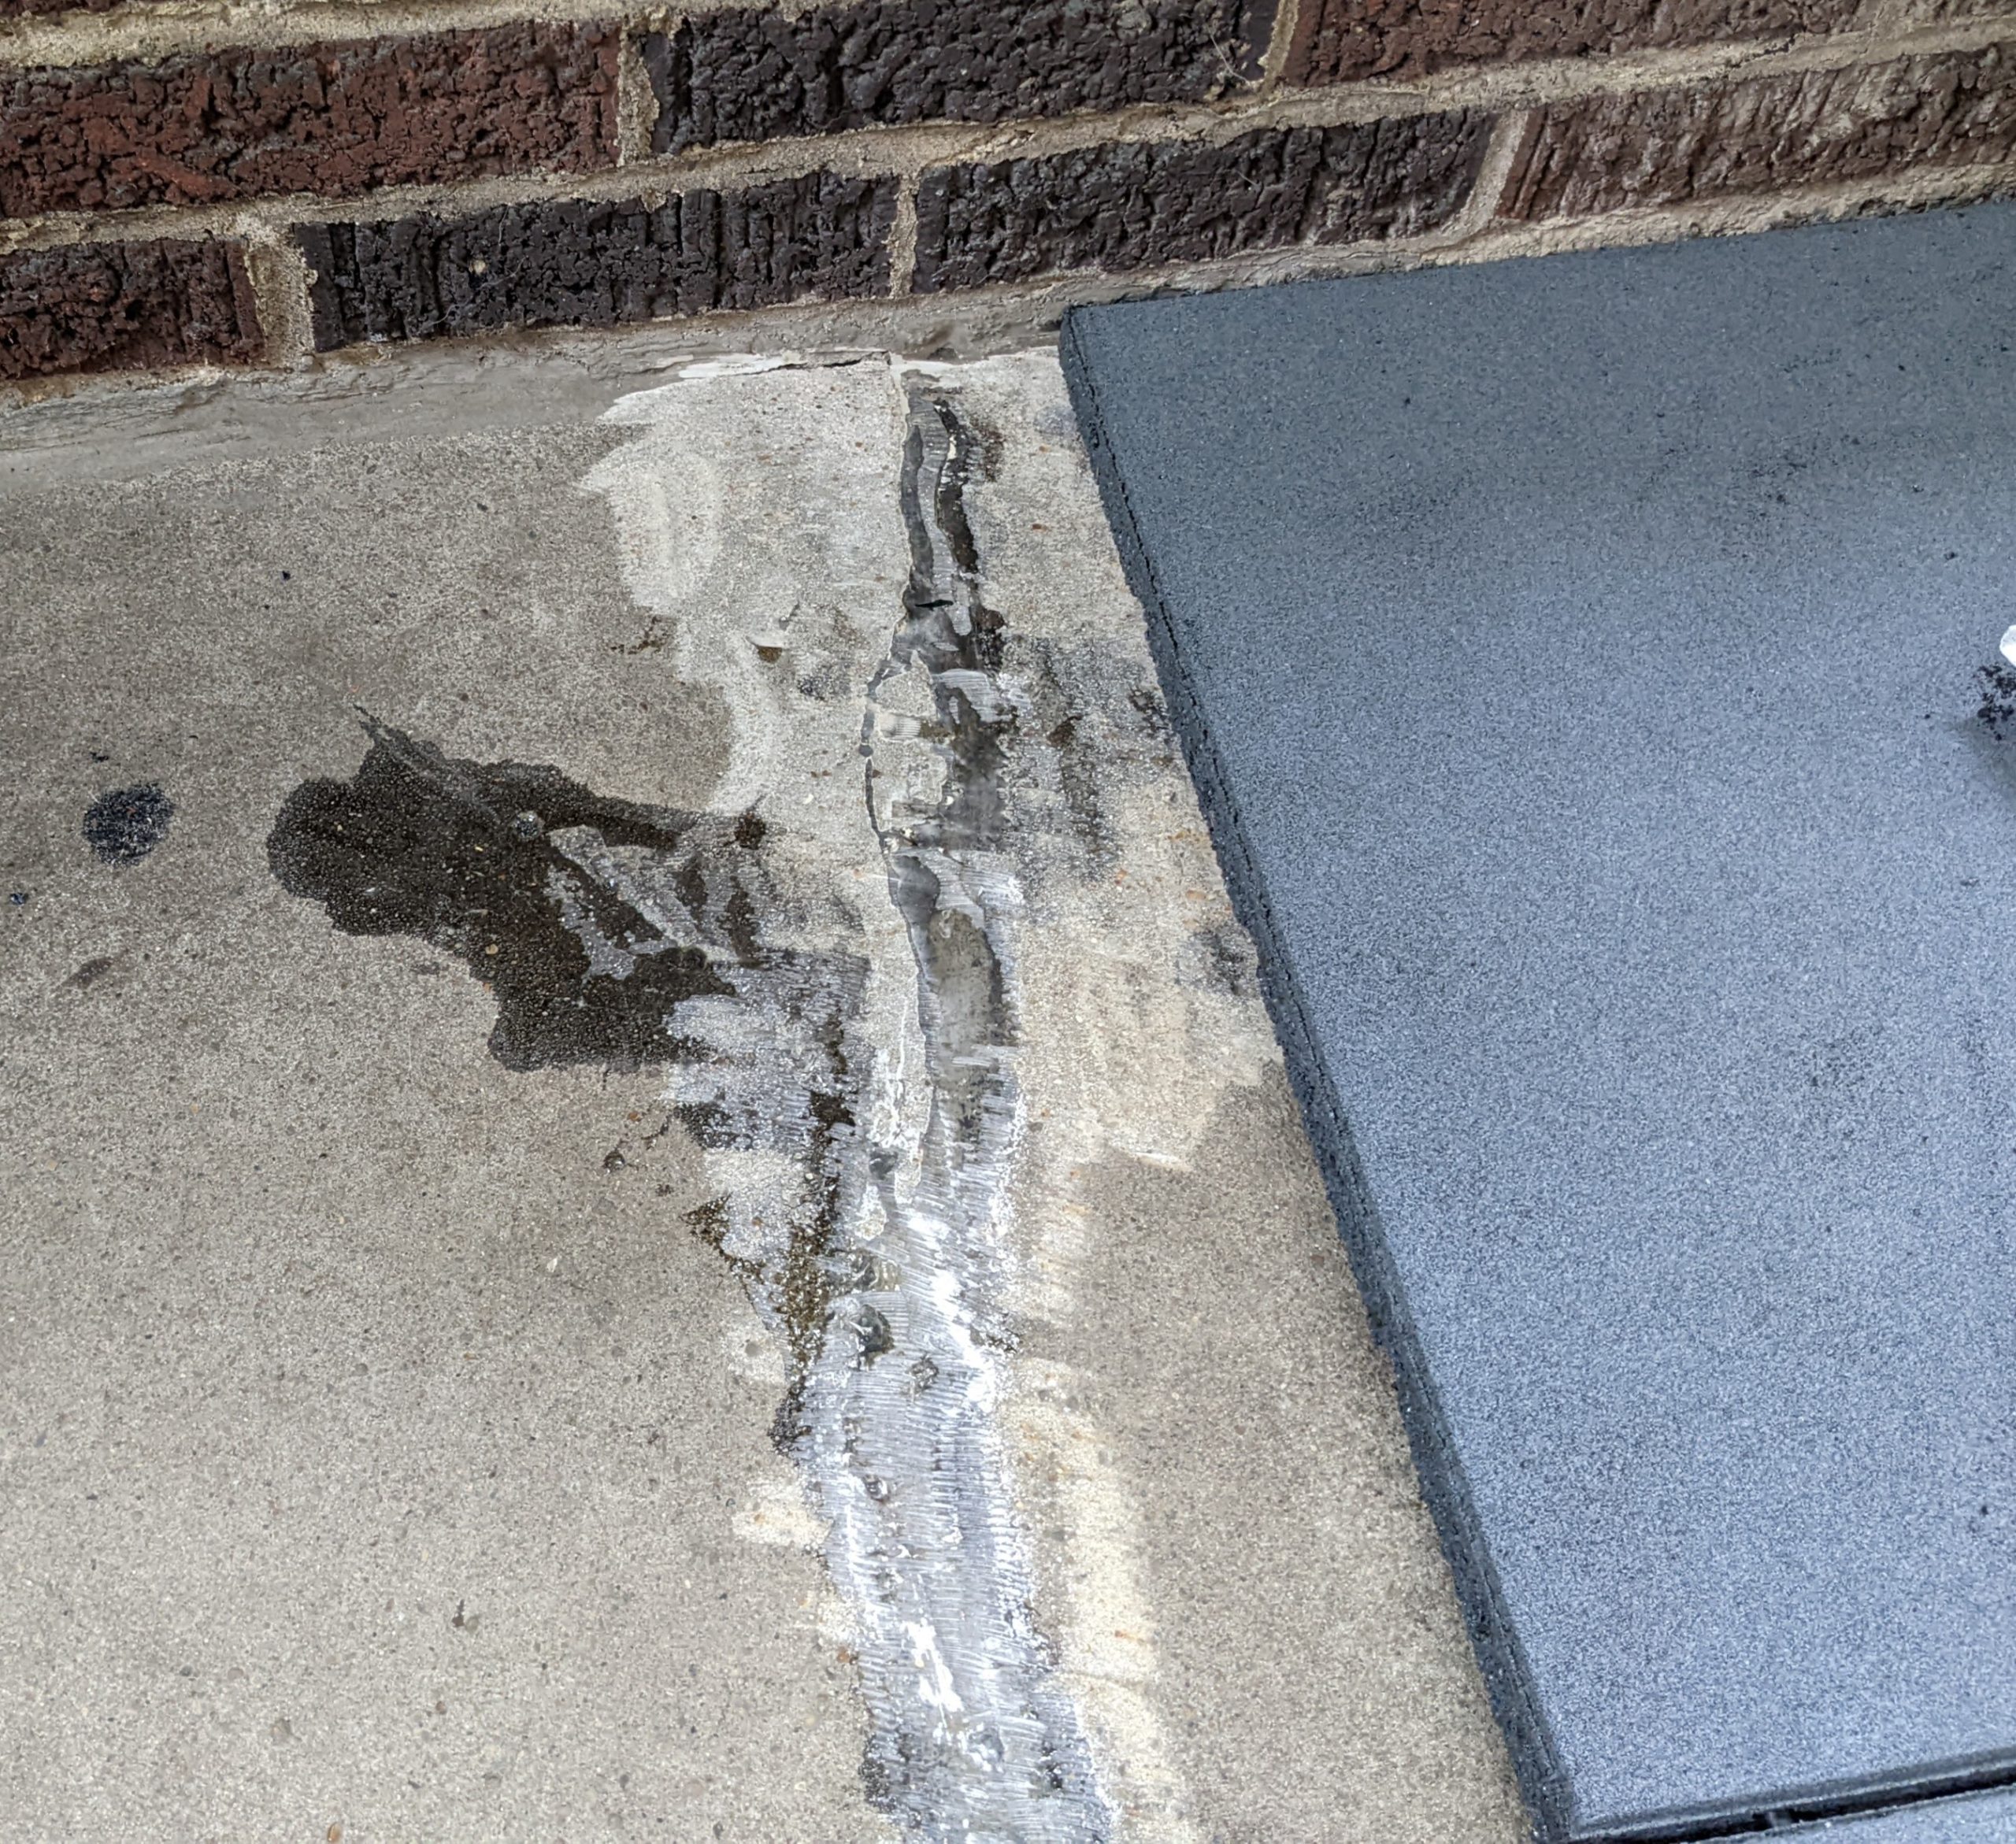
The interesting challenge was a crack in the floor that I’d repaired by injecting epoxy. Over the years, before it was fixed, one side of the crack had settled 0.5 cm (1/4″). That doesn’t seem like much, but the rubber matting is pretty stiff, so when it goes over a little step like that, it doesn’t follow the floor precisely. It bridges and bumps, and didn’t feel right underfoot.
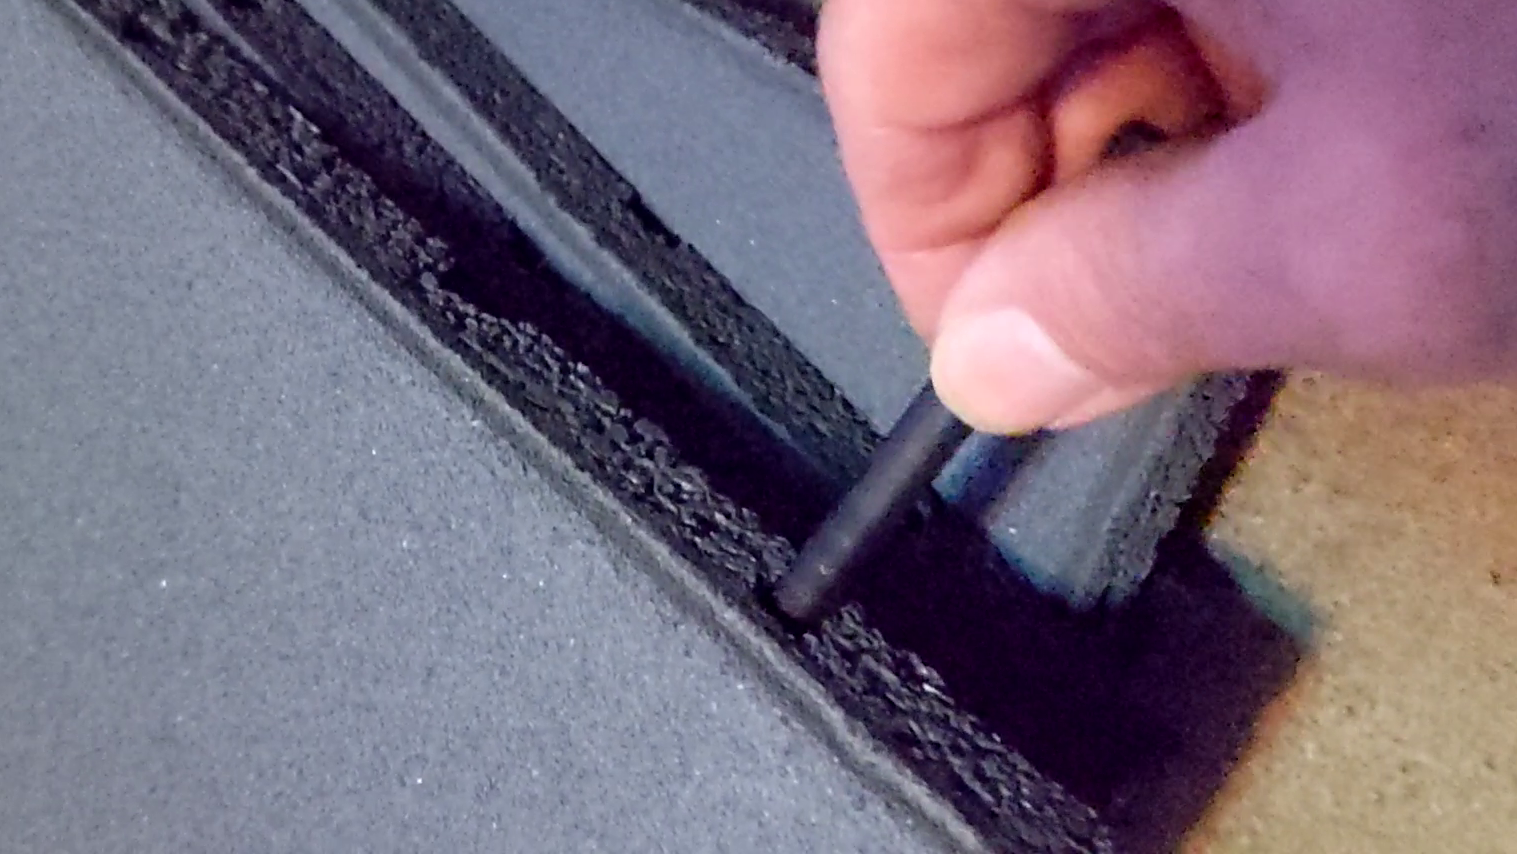
So, I started with an angle grinder, and rounded the sharp step. Then, I measured the size and position of the step, and with a router [whirrrrzzzz!] and a chisel [Sequentially, not both at once.] I dug a hole in the bottom of the tile that was just about the same size as the step. [Extra points if you notice that I started routering at the wrong edge before my wife noticed the problem. She’s much better at mental 3-D geometry than I am.]
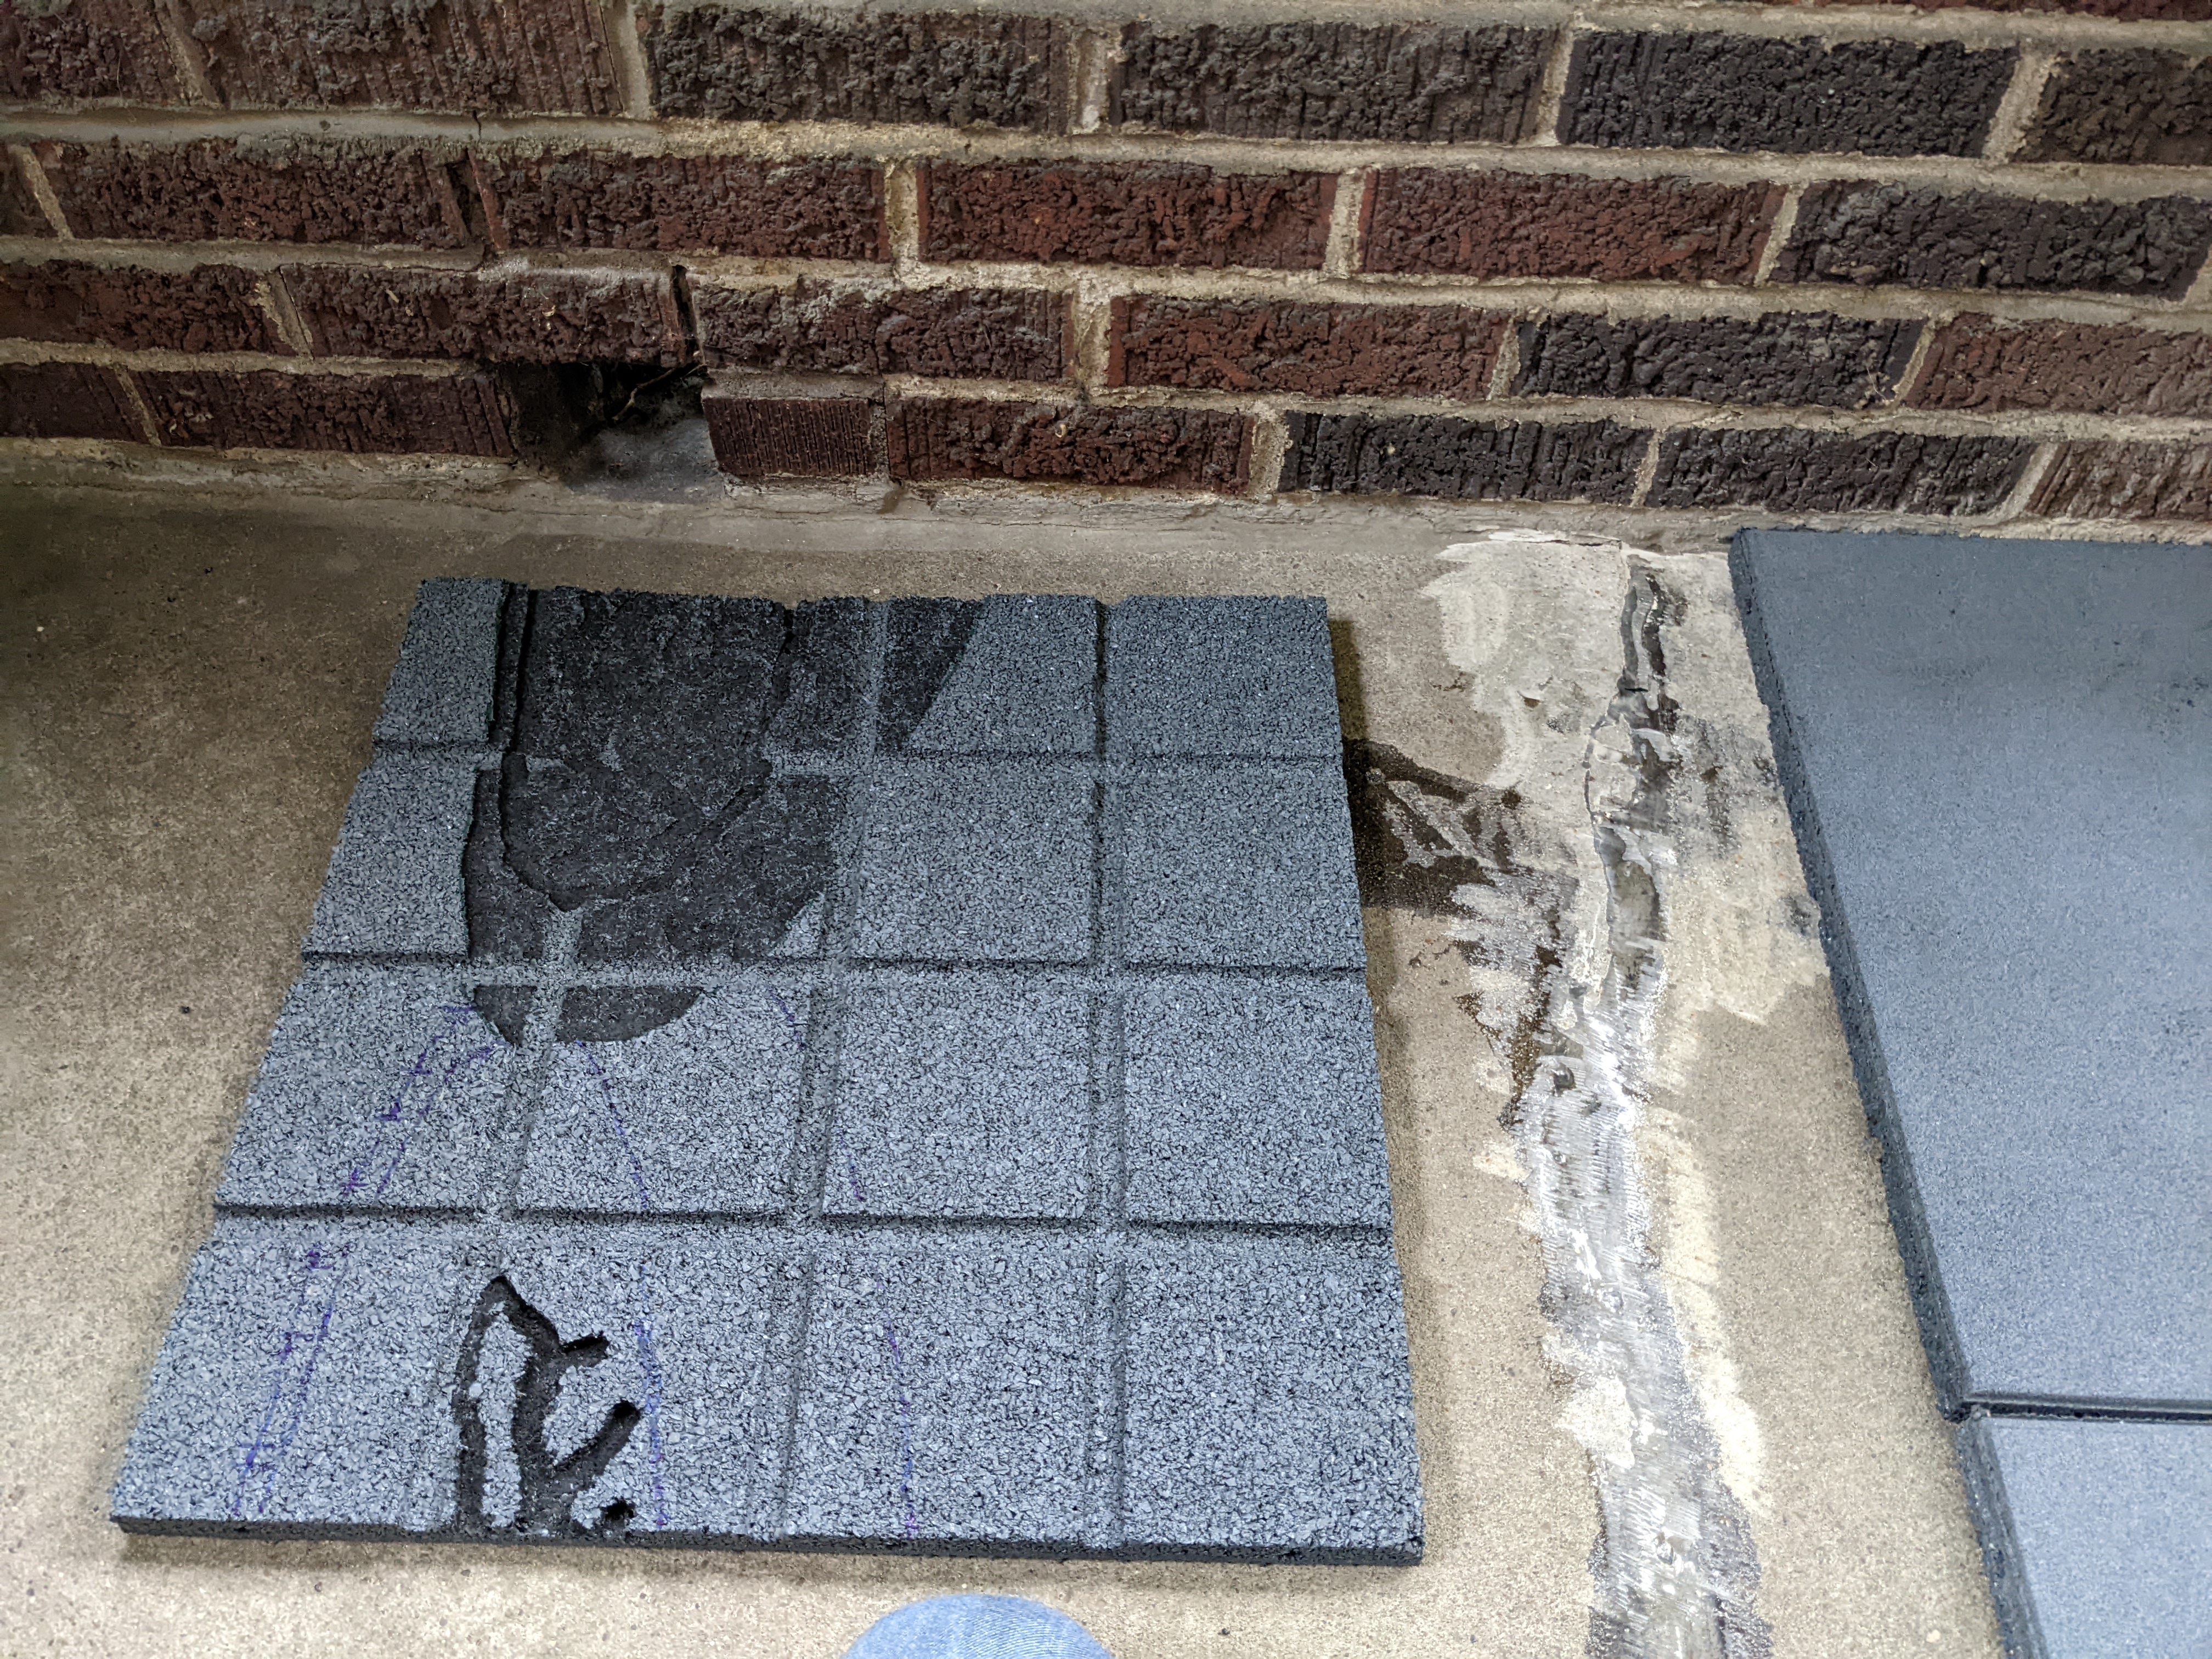
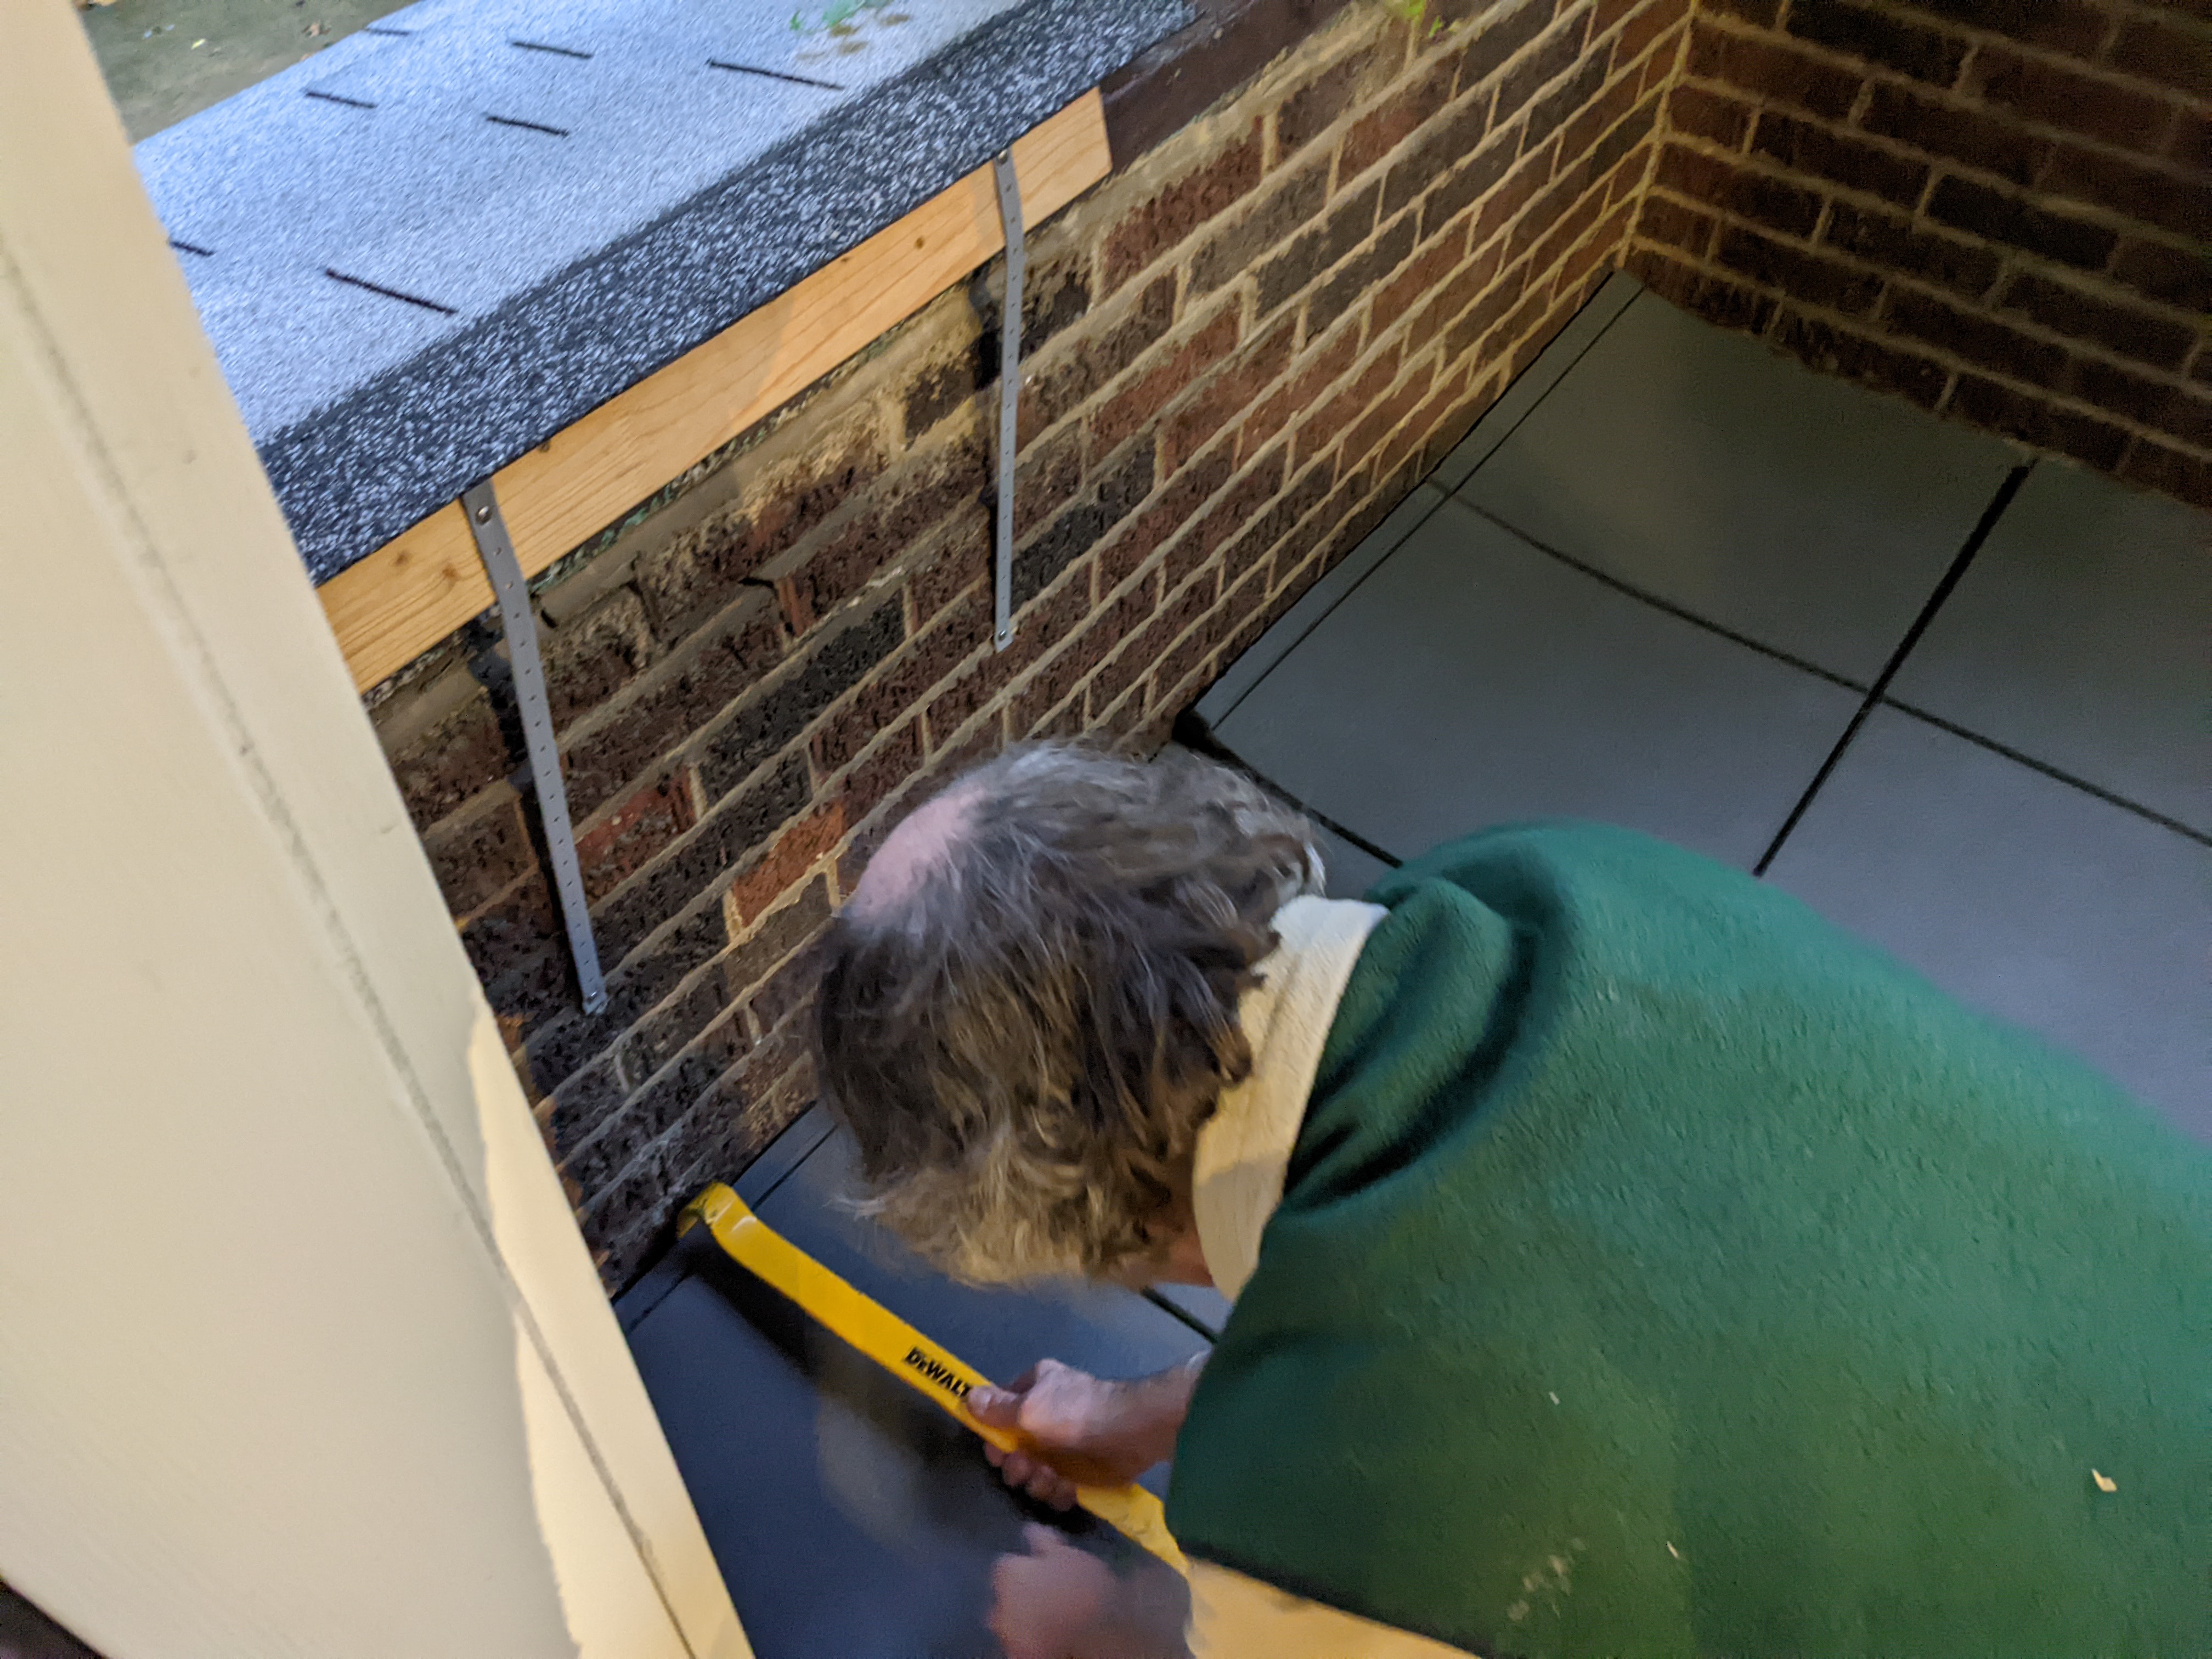
And, it was much better when flipped over and pegged to its neighbors. The foot feel was almost the same as the tiles on the flat parts of the floor. The rest was straightforward, except that the last row was a little bit tricky. It needed a tool — a prybar — to pull the tiles together: there wasn’t quite enough room to get my fingers between the rubber and the bricks.
And that was that. Put the tools away, stow the larger scraps in the basement. It’s much more comfortable for bare toes than the concrete.
And, what about climate change? Well, the total heat leaking through that floor area is A*(Ti-To)*L/R, where:
R is the R-value,
A is the area of the floor,
Ti and To are the inside and outside temperatures, and
L is the length of time the floor exists.
So, if we plug in suitable numbers:
R=0.32 (in units of BTU per hour per square foot per degree F),
A=200 square feet,
Ti=55°F, To=32°F, and
L=2880 hours (i.e. the 4 months of winter),
then we calculate that — before — we’d lose 41 million BTU over the course of a winter.
After installing the rubber mats, we’ll do the same calculation with the same numbers, except that R=1.32 because we’ve added on the R-value for the rubber. [Because now both the concrete and the rubber are slowing the heat flow.] Now the heat loss is a mere 10 million BTU over the heating season.
The difference of 31 million BTU is equivalent to 9 megawatt-hours of electricity. It’d take nearly 4 tons of coal to make that amount of electricity. Every year. [Actually, probably not quite that much as that because I measured Ti inside the main basement, and the cold room was colder. So, there was less of a temperature difference driving the heat through the concrete, so not quite as much heat would flow. But still, it’s going to be a big energy saving.]
Take that, Joe Manchin.